- Plant My Plants Newsletter
- Posts
- Wednesday Works: Mounting Epiphytic Plants Like a Pro
Wednesday Works: Mounting Epiphytic Plants Like a Pro
Where wild roots meet wall-worthy design
John Harrison
July 16, 2025
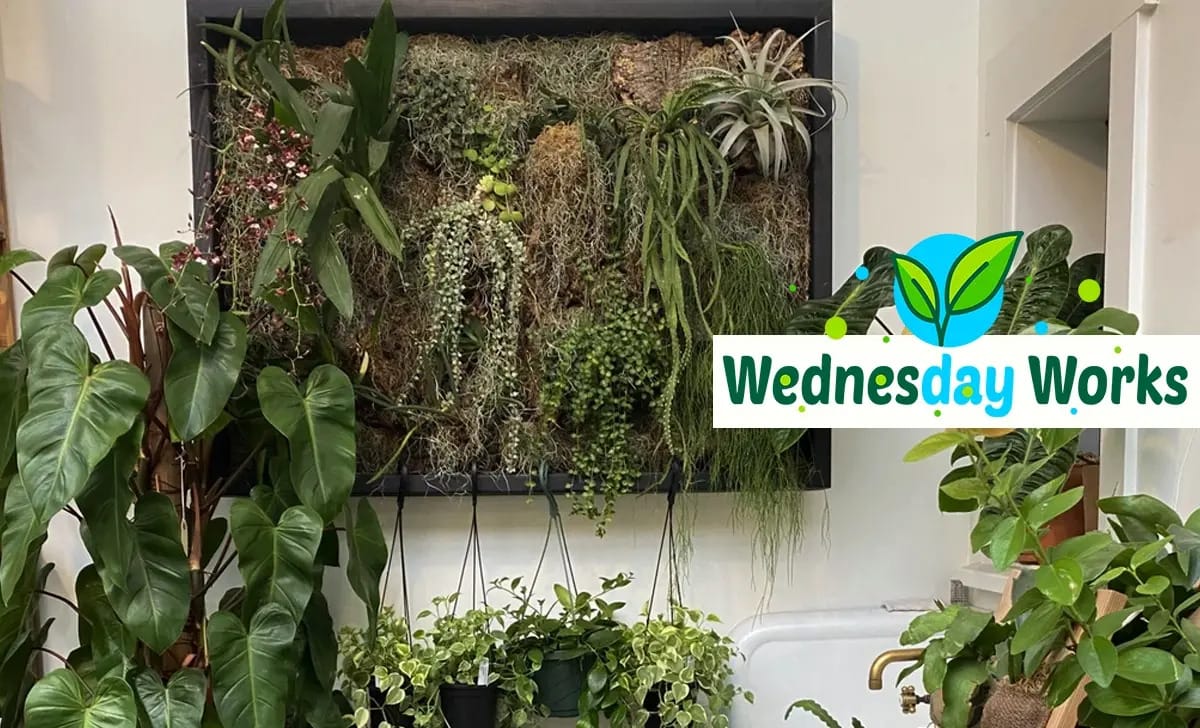
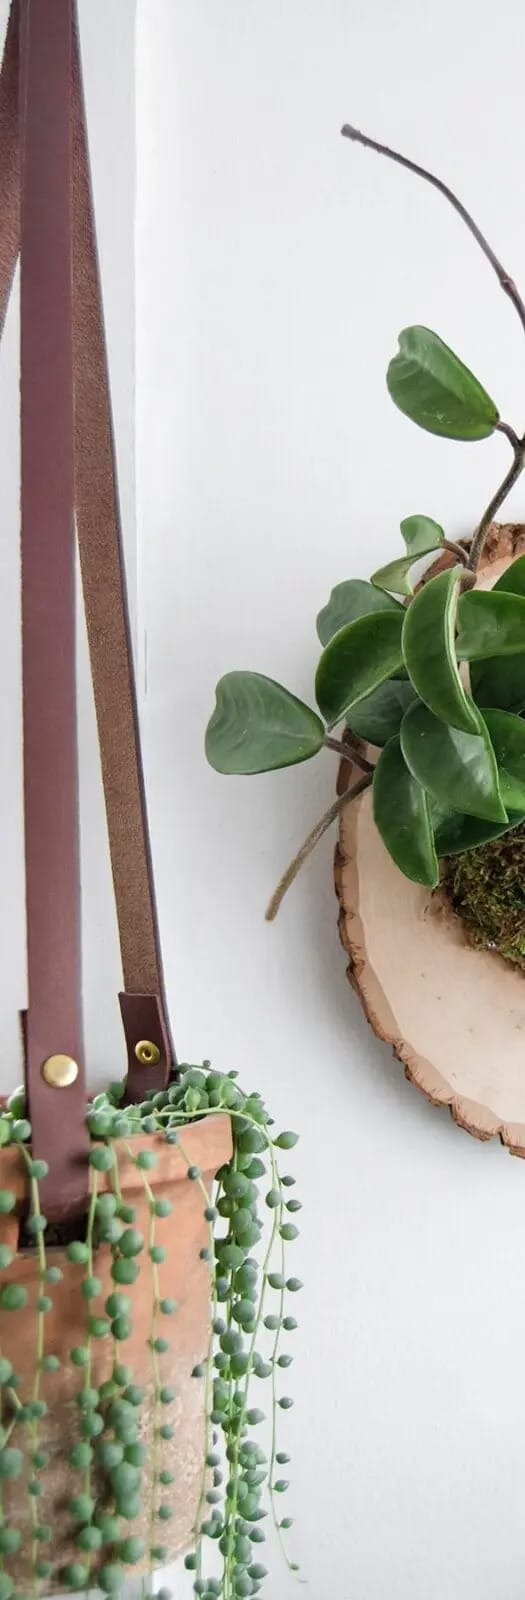
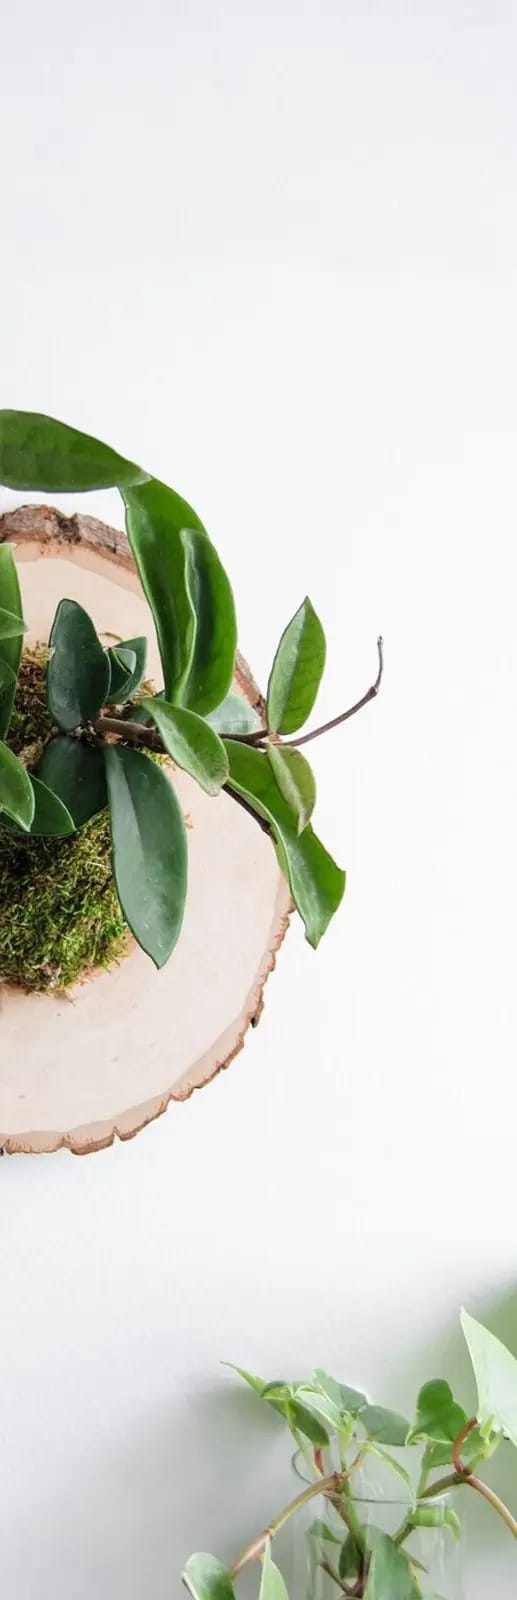
Ever seen a staghorn fern mounted like wall art and thought, “Wow, that’s living sculpture”? You’re not alone. And this week on Wednesday Works, we’re bringing that same botanical drama to your own space—with a DIY that’s part plant care, part home décor, and 100% fabulous. Epiphytes like staghorn ferns, orchids, and certain hoyas don’t grow in soil in the wild. They cling to trees, soak up rain and mist, and live life vertically. So why limit them to pots when they’re born to climb? We’re giving you everything you need to know—from tools and boards to long-term care—so your mounted plants thrive like the wild things they are. Let’s turn your wall into a leafy masterpiece. | 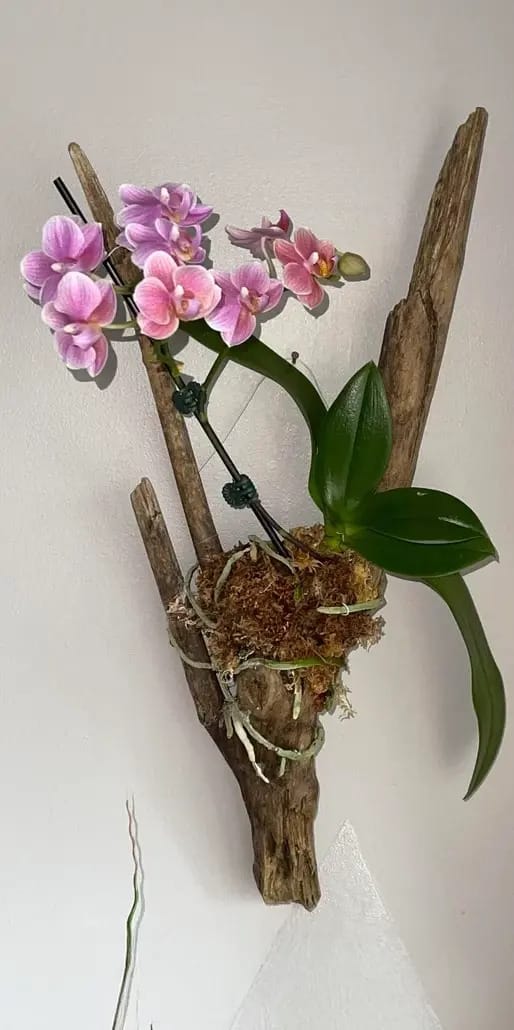 |
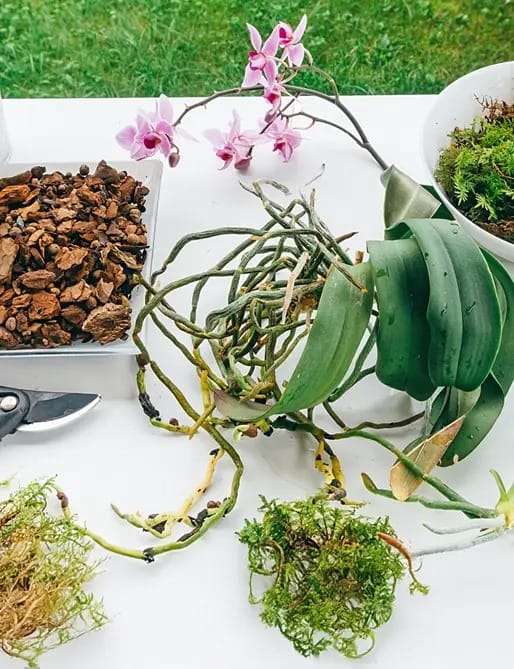
Why Mount an Epiphyte?Because some plants were never meant to be grounded. Mounting mimics how these beauties grow in the wild—grabbing onto bark, moss, and branches to access light and air. It also turns your plant into a conversation piece that blends design, nature, and a little bit of wild rebellion. A mounted staghorn isn’t just a plant. It’s a vibe. It’s personality on the wall. It’s something that says, “I know how to DIY with style.” And it’s not just about looks: ✅ Better airflow and drainage  | The clearest way into the Universe is through a forest wilderness. — John Muir Materials You’ll Need:Let’s get you prepped before we start channeling your inner jungle stylist.
 |
Mounting Step-by-Step
Ready? It’s easier than it looks—and way more fun than it sounds.
You don’t need a greenhouse, a power drill, or a degree in botany—just a little moss, a willing plant, and your own two hands. Whether you’re a seasoned plant parent or a curious beginner, mounting an epiphyte is one of those projects that feels both calming and creative. There’s something deeply satisfying about turning a few simple materials into a living piece of art—and once you start, you might just want to mount every epiphyte in sight.

1. Soak the MossHydrate your sphagnum moss in a bowl of water for about 15–20 minutes until it’s soft and pliable. 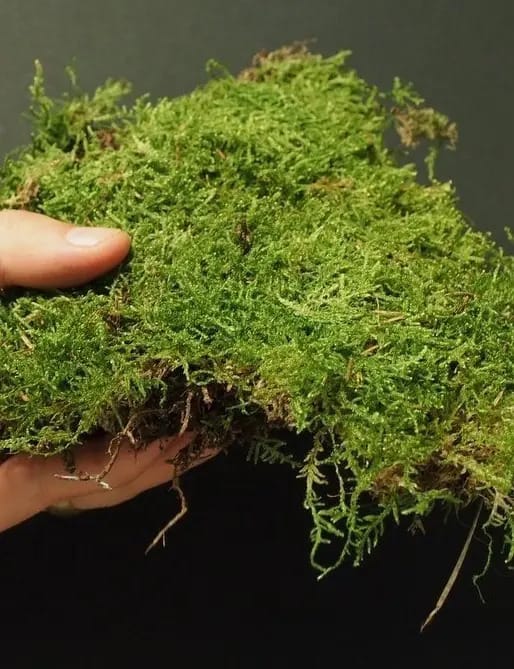 | 2. Prep Your BoardAttach your hanging hardware first. Trust us—you don’t want to flip a plant-filled board upside down later. 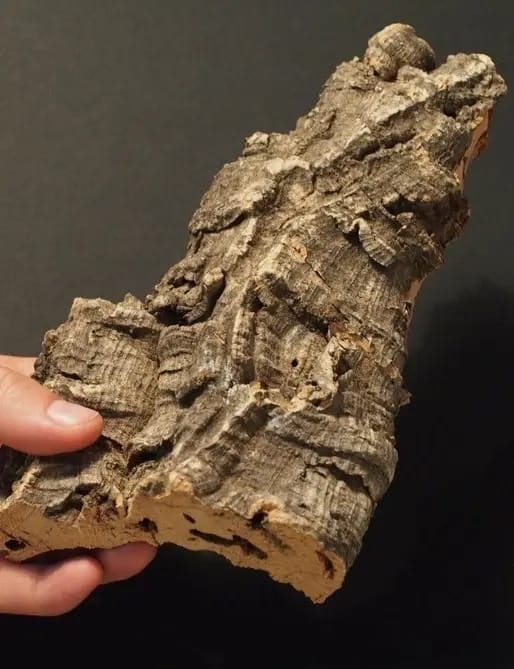 |
3. Form the Moss NestTake a generous handful of damp moss and press it into the center of your board, forming a circular bed about the size of your plant’s root ball. 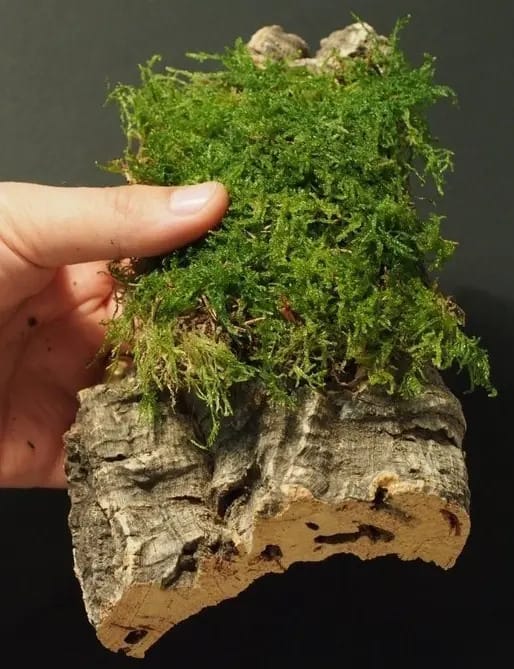 | 4. Nestle the PlantGently remove excess soil from your plant’s roots (don’t go bare—just shake off the extras). Press it into the moss bed like it’s settling in for a nap. 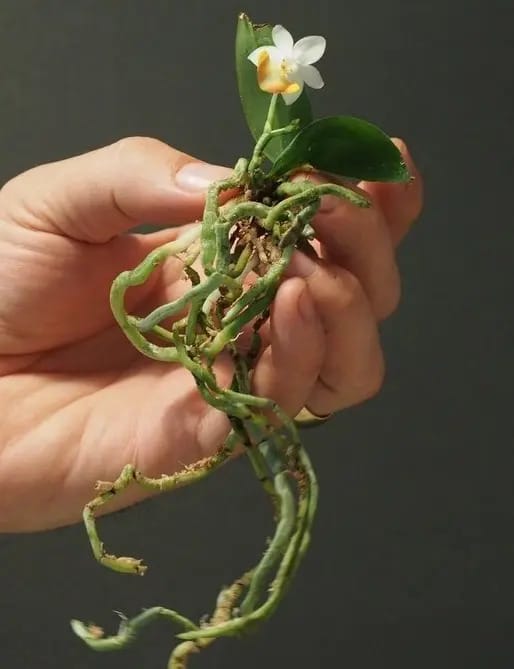 |
5. Secure It AllUse your wire or twine to wrap around the root ball and board, crisscrossing to hold the plant snug without crushing it. Wrap a few times, tie securely, and snip the excess.  | 6. Finish with FlairTuck in some decorative moss, shells, or even a small nameplate. This is art, after all. 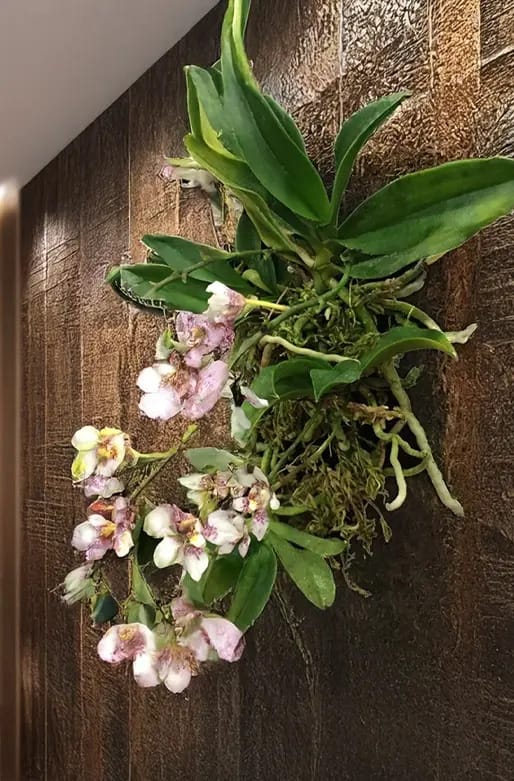 |
 |  |
Final TouchesCare and Watering for Mounted PlantsMounted epiphytes love humidity, mist, and bright indirect light—so treat them like rainforest royalty.
Best For: 🌿 DIY lovers who want something beyond the usual pot Pro Tips: ✨ Go natural with your mounting board—raw edges and textures add to the organic beauty. | 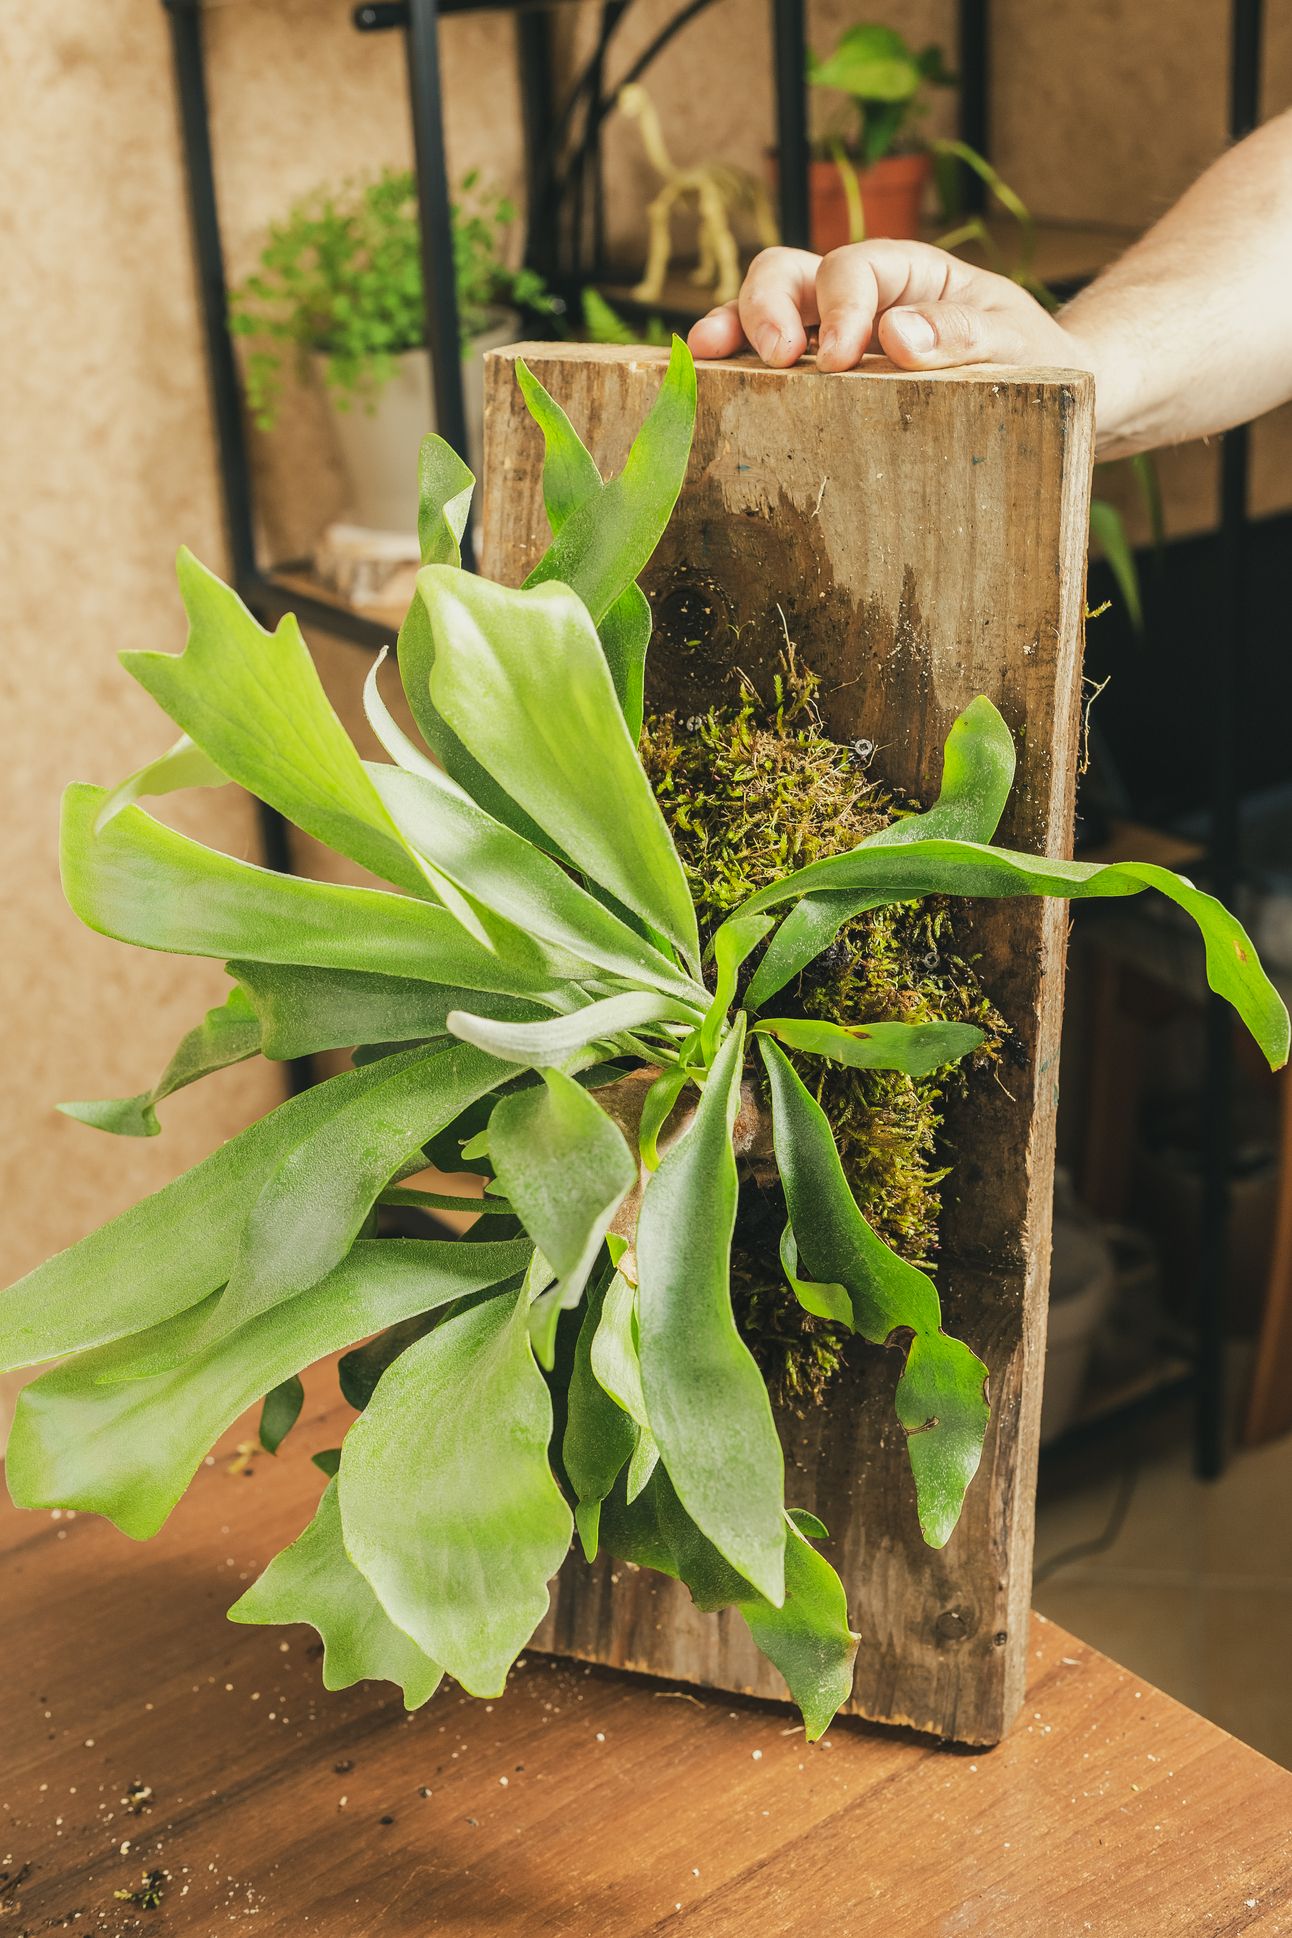 Show Off Your Living Art Tag us @PlantMyPlants and use #WednesdayWorks to show off your mounted masterpieces! Forward this to your crafty bestie or that friend who keeps saying, “I want more plants but I have no room.” You’re about to blow their minds. 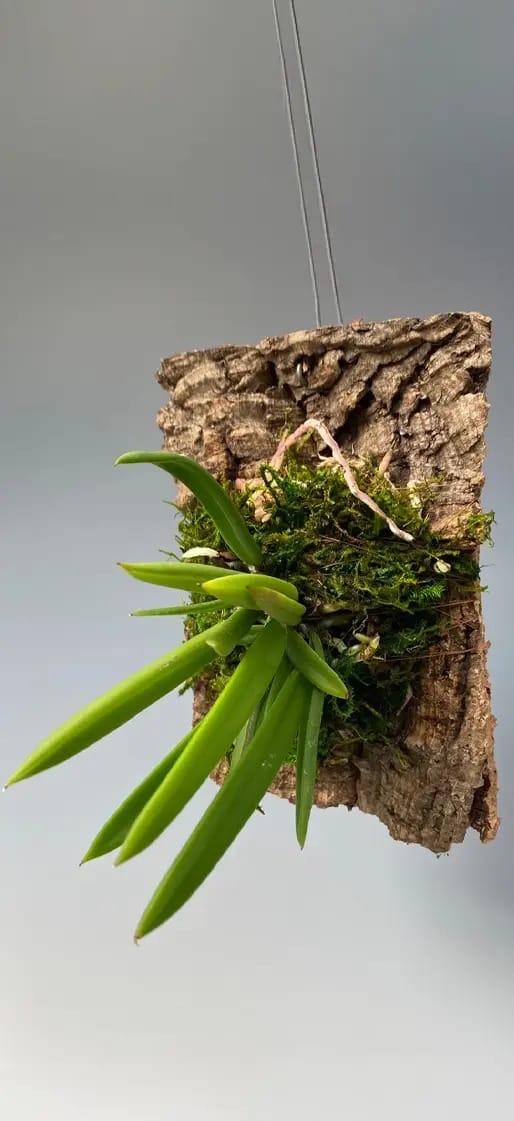 |
Final Thought Plants don’t have to stay grounded—and neither do you. This process is more than just a craft—it’s an act of celebration. It’s about turning living things into art, inviting nature into your space in a way that feels personal, expressive, and alive. So grab some moss. Find a board. And let your plants climb, stretch, and show off—just like you. Because growth isn’t always about reaching the ground. Sometimes, it’s about reaching for something greater. ❝ Epiphytes are nature’s way of saying, ‘Let’s get vertical. — Someone who clearly had a mossy masterpiece on their wall. | 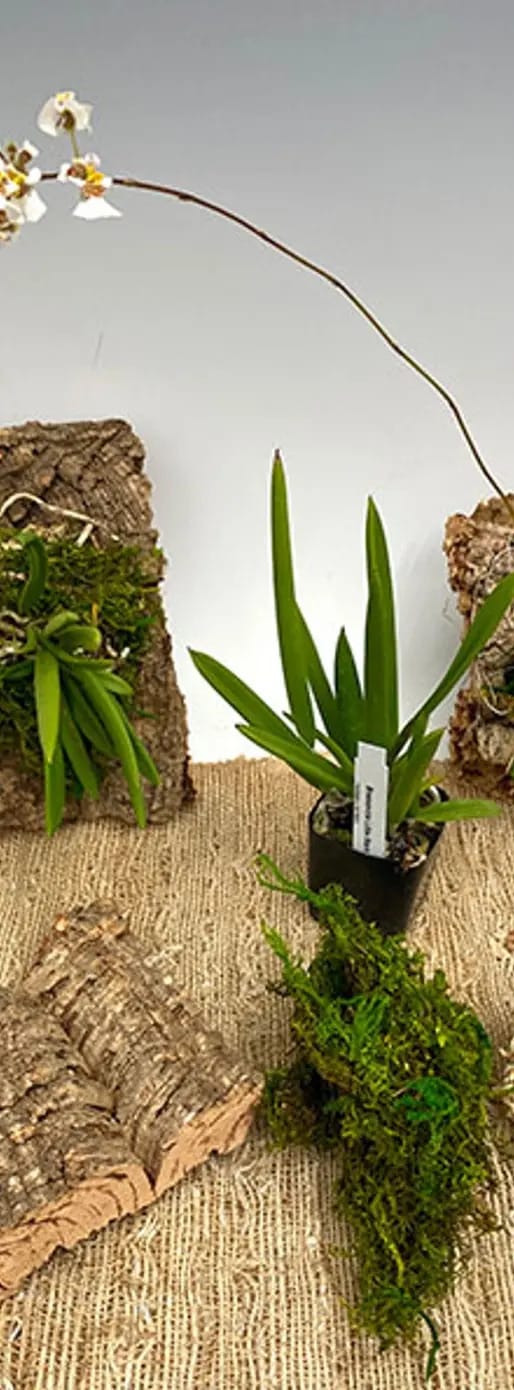 |
Until next time,
-The PlantmyPlants Team
Instagram @PlantMyPlants | Facebook
Reply